


While starting your coding journey, the technologies you must learn and use can seem scary, and you sometimes need clarification about what you need to know as a beginner. Well, let us learn something you'll be using in every project you make, something that every developer uses and tools that make your coding journey easier. Let's take a look at Git and GitHub!
What are Git and Github?
Whether you are a beginner or have been a developer for quite a while, you know the hassle of maintaining your code, ensuring you always have a backup and collaborate in a manner that suits everyone. Git and GitHub are the tools that allow you to do exactly that!
Git is a popular distributed version control system developed by Linus Torvalds in 2005 that helps you track changes in your code. But what is version control? What if I told you that you've been using a version control system yourself and you know exactly how it works?
Well, probably not the most efficient or structured way to do it, but you know how to manage code changes and have backups you can revert to if needed. Git allows you to do the same by creating snapshots of your project at different points in a "repository" that acts as a central location for the project files, history and code. You can also maintain multiple versions of your project, and developers can collaborate on the same codebases without worrying about collisions with each other's works.
Now that you've figured out an efficient way for version control how do you share these repositories so that people can collaborate on this codebase? This is where GitHub comes in. GitHub is a web-based platform service that provides hosting for git repositories. GitHub makes it easy to merge code, make pull requests and also automatically test and deploy code changes.
Some key terms in Git
Now let's take a look at some of the terms every developer should know before using related to Git and Github.
Repository: A central location for a project for version control.
Commit: Creating a snapshot of your code at a particular time.
Remote: A git version that is hosted on a remote server such as GitHub.
Clone: Creating a copy of the remote repository on a local machine.
Push: Upload the changes in your repository to a remote host or a main repository.
Branch: A separate version of code that is independent of your main project and can be later added to the main code if required.
Merge: Combine two or more branches into a single branch.
Making our first commit!
We have so far learned about the basics of Git and GitHub. Now it's time to use this knowledge and have a practical demonstration of the same. For this you need to download and set up Git Bash on your machine for which an easy and detailed guide can be found here. Apart from this, we need to create our GitHub account which can be done here. After these steps, we are ready to go!
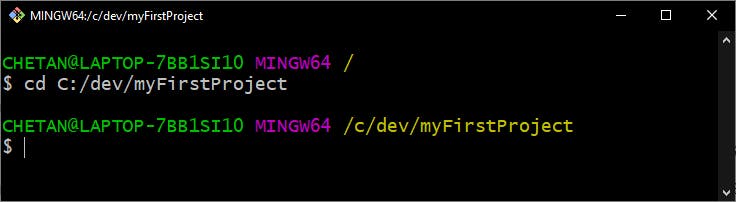
Lets start by creating a repository locally. For this you can either navigate to the folder of your choice, right click and click on the "Git Bash here" or you can navigate to the same by opening Git Bash and using the "cd [pathToFile]" command as follows.
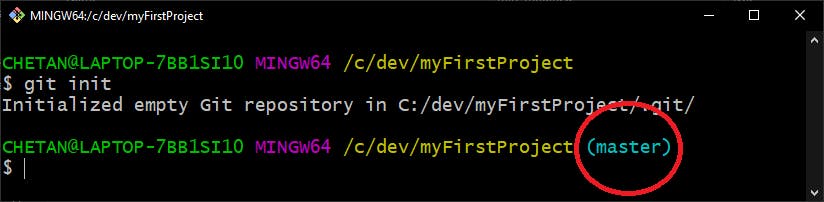
Here we initialize an empty repository using the command
git init
Note that after you run this command, you can see a (master) tag in your git bash screen denoting that you are in the default "master" branch of your repository.
We have an empty repository, let's add some code here. For this demonstration, I'll add a simple hello world program and README file in my repository but you can add any code you want to push to your repository. You can use the command "git status" to take a look at your files and their stage in git.
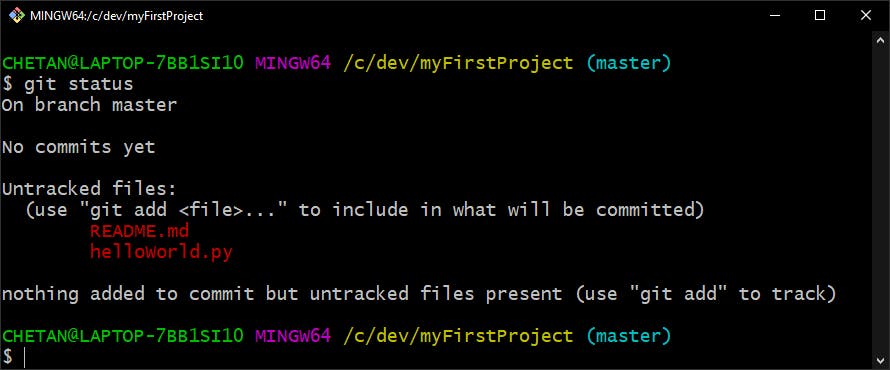
As you can see two files can be seen here under "untracked files" meaning Git isn't currently tracking these and they would not be included if you commit your changes. To add these to the "staging area" or get them started to being tracked you can use the following command.
git add .
We use the sign "." to denote that we want to add all files to the staging area. If you want to only add a single file you can directly use "git add [filename]" say "git add README.md" in my case.
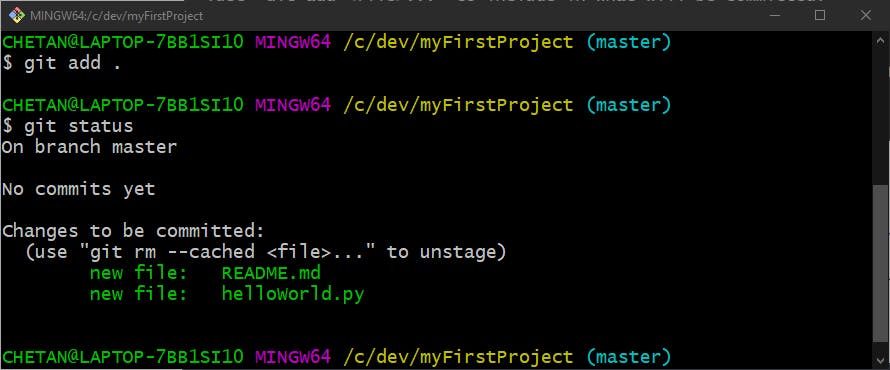
If you run the command and use git status again you now see the color for both the files is now green meaning their changes are being tracked and they can be committed. To commit the changes:
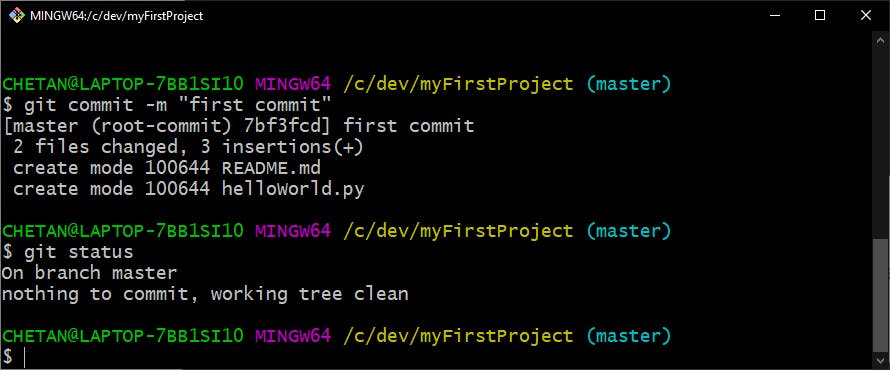
git commit -m "[YOUR MESSAGE HERE]"
Great work! You've made your first commit. Let's check the status once more just to be sure?
Pushing to GitHub
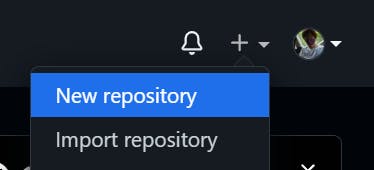
Its time we push our code to GitHub so we can share our code and people can collaborate with us on our project. So let's head over to github.com and get started! Now start an empty GitHub repository by locating these buttons in top right corner of the screen.
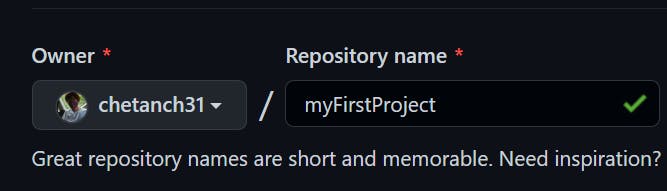
Give this project a name of your choice and hit "Create Repository"

You'll have an empty GitHub repository if front of you. That looks something like this
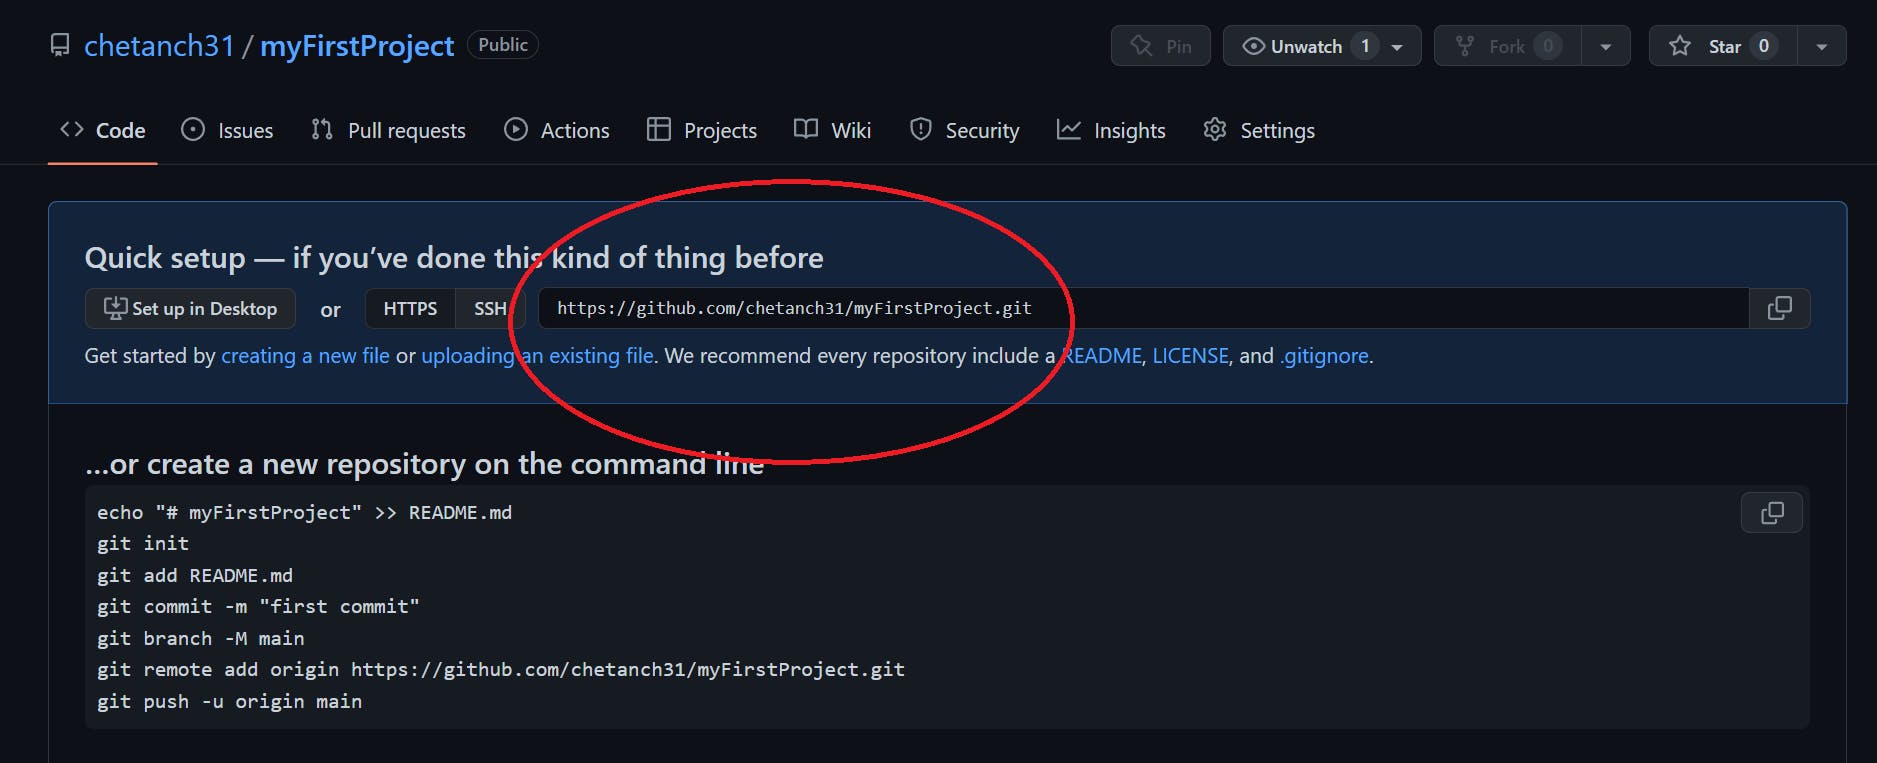
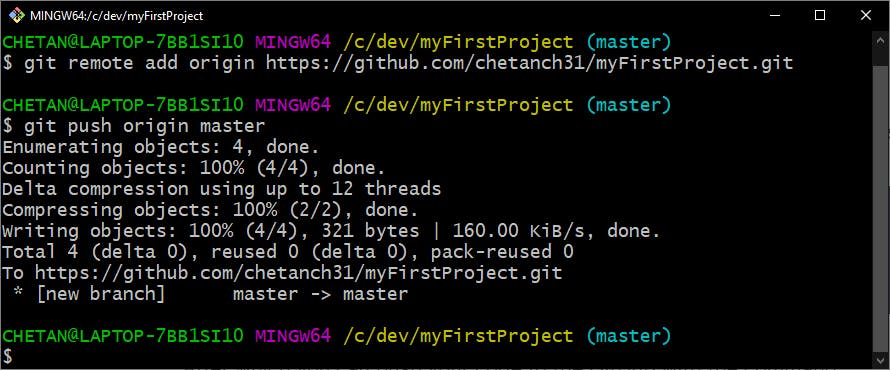
It's time to add the code we committed previously here. All you need to do is copy the link provided as highlighted above. Go to your local directory and open git bash there and use the following command to add a remote server for your repository.
git remote add origin [GITHUB-LINK-HERE]
After which you can push your code to the GitHub with the command:
git push origin [NAME-OF-BRANCH]
If you open your GitHub repository now you'll see all your files here.
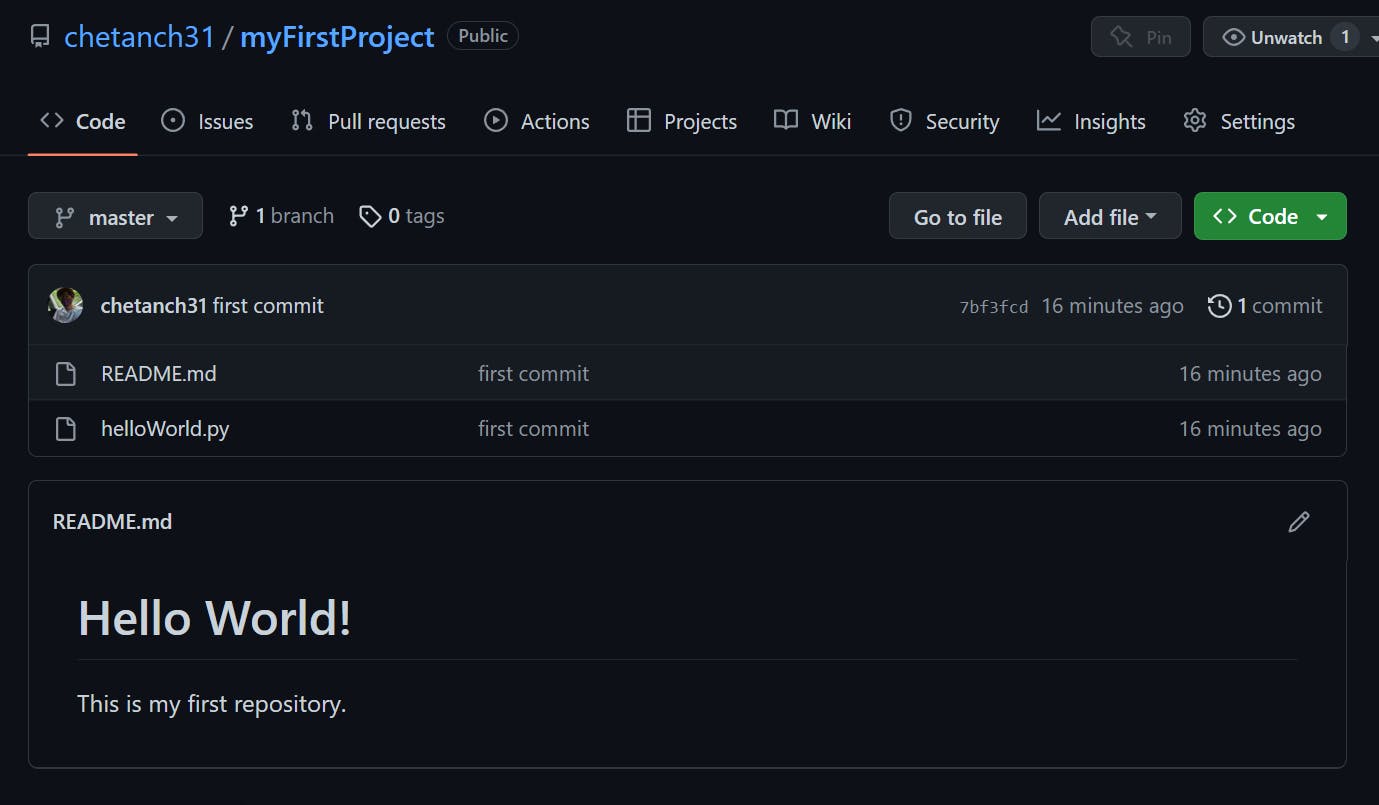
Congratulations! You've successfully pushed your code to GitHub.
Conclusion
In this blog, we explored a very power set of tools Git and Github their uses, common terminologies and how to use these technologies to make our development process and collaboration easier. Now you can experiment and explore with more git commands available and GitHub without anything to worry about! Remember you can learn anything as long as you remember to "commit" to it ;)